
How to Make Canned Pickled Beets
For the first time ever, I was finally able to grow enough beets in my garden this year to have some extra leftovers to do something with (besides just serving as the side dish for one meal).
I was elated. It has been my goal for several years now to be able to grow enough beets to eat some right away, freeze some, and of course, make canned pickled beets.
I'm obsessed with pickled beets. I put them on everything, from salads to sandwiches and even cheeseburgers. They're delicious, they're good for you, and I even feed them to my eleven-month-old son, who thinks it's hysterical to mash them up between his fingers and watch the bright purple stain spread everywhere!
So without further ado, here's a quick recipe you can try if you want to learn how to make and can make your own pickled beets. Bonus points if you make them from beets you grew yourself, too!

**J&R Pierce Family Farm is a participant in the Amazon Services LLC Associates Program, an affiliate advertising program designed to allow sites to earn advertising fees by linking to products on Amazon. I often link to Amazon when recommending certain products, and if you choose to purchase, I may earn a small percentage of the sale. It costs you nothing extra, and all recommended products are ones that I personally vouch for. **
Are Canned Pickled Beets Good for You?
Yes! Pickled beets are high in
Vitamins and minerals
Potassium
Calcium
Iron
Probiotics
To get the most benefit out of your pickled beets, be sure to water bath can them. You’ll find some steps on how to prepare your lids and rings for canning in the video below:
What is the Difference Between Canned Beets and Pickled Beets?

OK, so I lied - we aren't going to jump right into my pickled beets recipe. First, I want to address a couple of questions you might be having.
First and foremost, how are pickled beets different from canned beets?
The difference is that canned beets are simply beets. Nothing more. They might have a bit of salt or water added in, and they offer the same nutritional benefits as regular fresh beets. Canned beets are a great source of fiber, folate, and iron, among other nutrients.
Canned beets last much longer than fresh ones, lasting for as many as two years or more without using freshness. They cook up fast, too, taking only a few moments to cook as opposed to an hour. Preparing them to eat is often as simple as draining the water and throwing them on a plate.
Pickled beets, on the other hand, have other ingredients added in. You can process pickled beets in a water bath canner, as opposed to a pressure canner. This can save you time and money.
You'll add ingredients like apple cider vinegar (or white vinegar), pickling spices, and some other things, too, before packing your pickled beets into the canner. Pickled beets have a nice zest that, in my opinion, is superior to regular beets alone.
It's like what would happen, I imagine, if beets and dill pickles had a love child! Pickled beets are the perfect accompaniment to any meal.
Can You Get Botulism From Pickled Beets?

The sad reality is that you can get botulism from any kind of canned good, including pickled beets.
However, when you learn the best methods for canning and follow a tried and true recipe for canning pickled beets, your risk should be extremely low.
Botulism becomes a risk when you don't eat properly or by following a tested recipe. The one I'll give you has been proven to be safe and is incredibly easy to follow.
The benefit of canning beets, a low-acid food, after pickling them is that you reduce much of the risk of botulism. The acidity of the vinegar helps minimize botulism spores and makes the pickled beets safe for a water bath canner.
How to Make and Can Pickled Beets: the Best Recipe for Canning

Ready to dive in? Here's my favorite recipe for making and canning pickled beets at home.
Prep Time
20 minutes
Cook Time
35 minutes
Total Time
55 minutes
Type of Cuisine
American
Ingredients
2 cups sugar
3 lbs small fresh beets
2 cups water
1 tsp allspice
2 cinnamon sticks (or 2 tbsp ground cinnamon)
2 cups apple cider vinegar
1 tsp whole cloves
Supplies Needed
Saucepan for combining vinegar, water, sugar, and spices
Cheesecloth (optional)
Instructions
1. Begin by cleaning and cooking the beets. Scrub them thoroughly and trim the tops down to about one inch. Put the beets in a saucepan and add water to cover them. Bring to a boil, then reduce to a simmer. Keep the beets covered and simmering for about half an hour, or until tender.
2. Remove the beets from the water and let them cool. You can then peel them and cut them into rings or quarters, depending on the shape you'd like your pickled beets to take. Side note - you can peel the beets before this, if you'd like, but they tend to peel better after they've been boiled.
3. Put the beets back into the saucepan that you used for boiling water. In the saucepan, combine 2 cups vinegar, 2 cups water, and 2 cups sugar. You can place the spices into the boiling vinegar water directly, or you can tie the cinnamon, whole cloves, and allspice up in a bundle of cheesecloth if you'd rather not introduce floating sediment to your canning recipe! It's totally up to you.
4. Bring to a boil again, then reduce the heat and simmer for 10 minutes. Get rid of the spice bag, if you used one.
5. As you are boiling water and preparing for canning pickled beets, you can also get the equipment ready for your water bath. When it comes to canning pickled beets, using a water bath canner is totally fine.
However, for any recipe with a water bath canner, it's important that you take the time to properly prepare the canner and all the equipment you will be using. Sterilize your jars in the dishwasher or by hand, using the hottest water possible. The rings should also be sterilized. Fresh lids should be used each time.
6. Once the jars are hot and the beets are ready to go, you can start packing them into pint jars. You can also use quart jars but will need to adjust the recipe accordingly. Place the beets into hot pint jars with about an inch headspace at the top of the jars. Remove air bubbles and adjust the headspace, if necessary, by adding more of the boiling vinegar-sugar-water mixture.
7. Wipe the rims of the jars clean to make sure there is no sediment remaining. Screw the bands onto the jars unit and they are fingertip tight.
8. Place the beets in the water bath canner. Add enough water so that each jar is completely covered. Bring the water to a boil. Once it reaches a boil, start your timer and process the jars for 35 minutes.
9. After 35 minutes, remove the jars and put them on a clean dish towel to cool. Keep the jars out of a direct draft to avoid any cracking.
10. Once the jars have cooled after about 24 hours, check the seal on each one to make sure it has secured. If not, you'll need to use the beets immediately. Let the beets sit for 48 hours before using them for the best flavor.
Other Tips for Canning Pickled Beets

canned pickled beets
Here are a few more tips for making canned pickled beets.
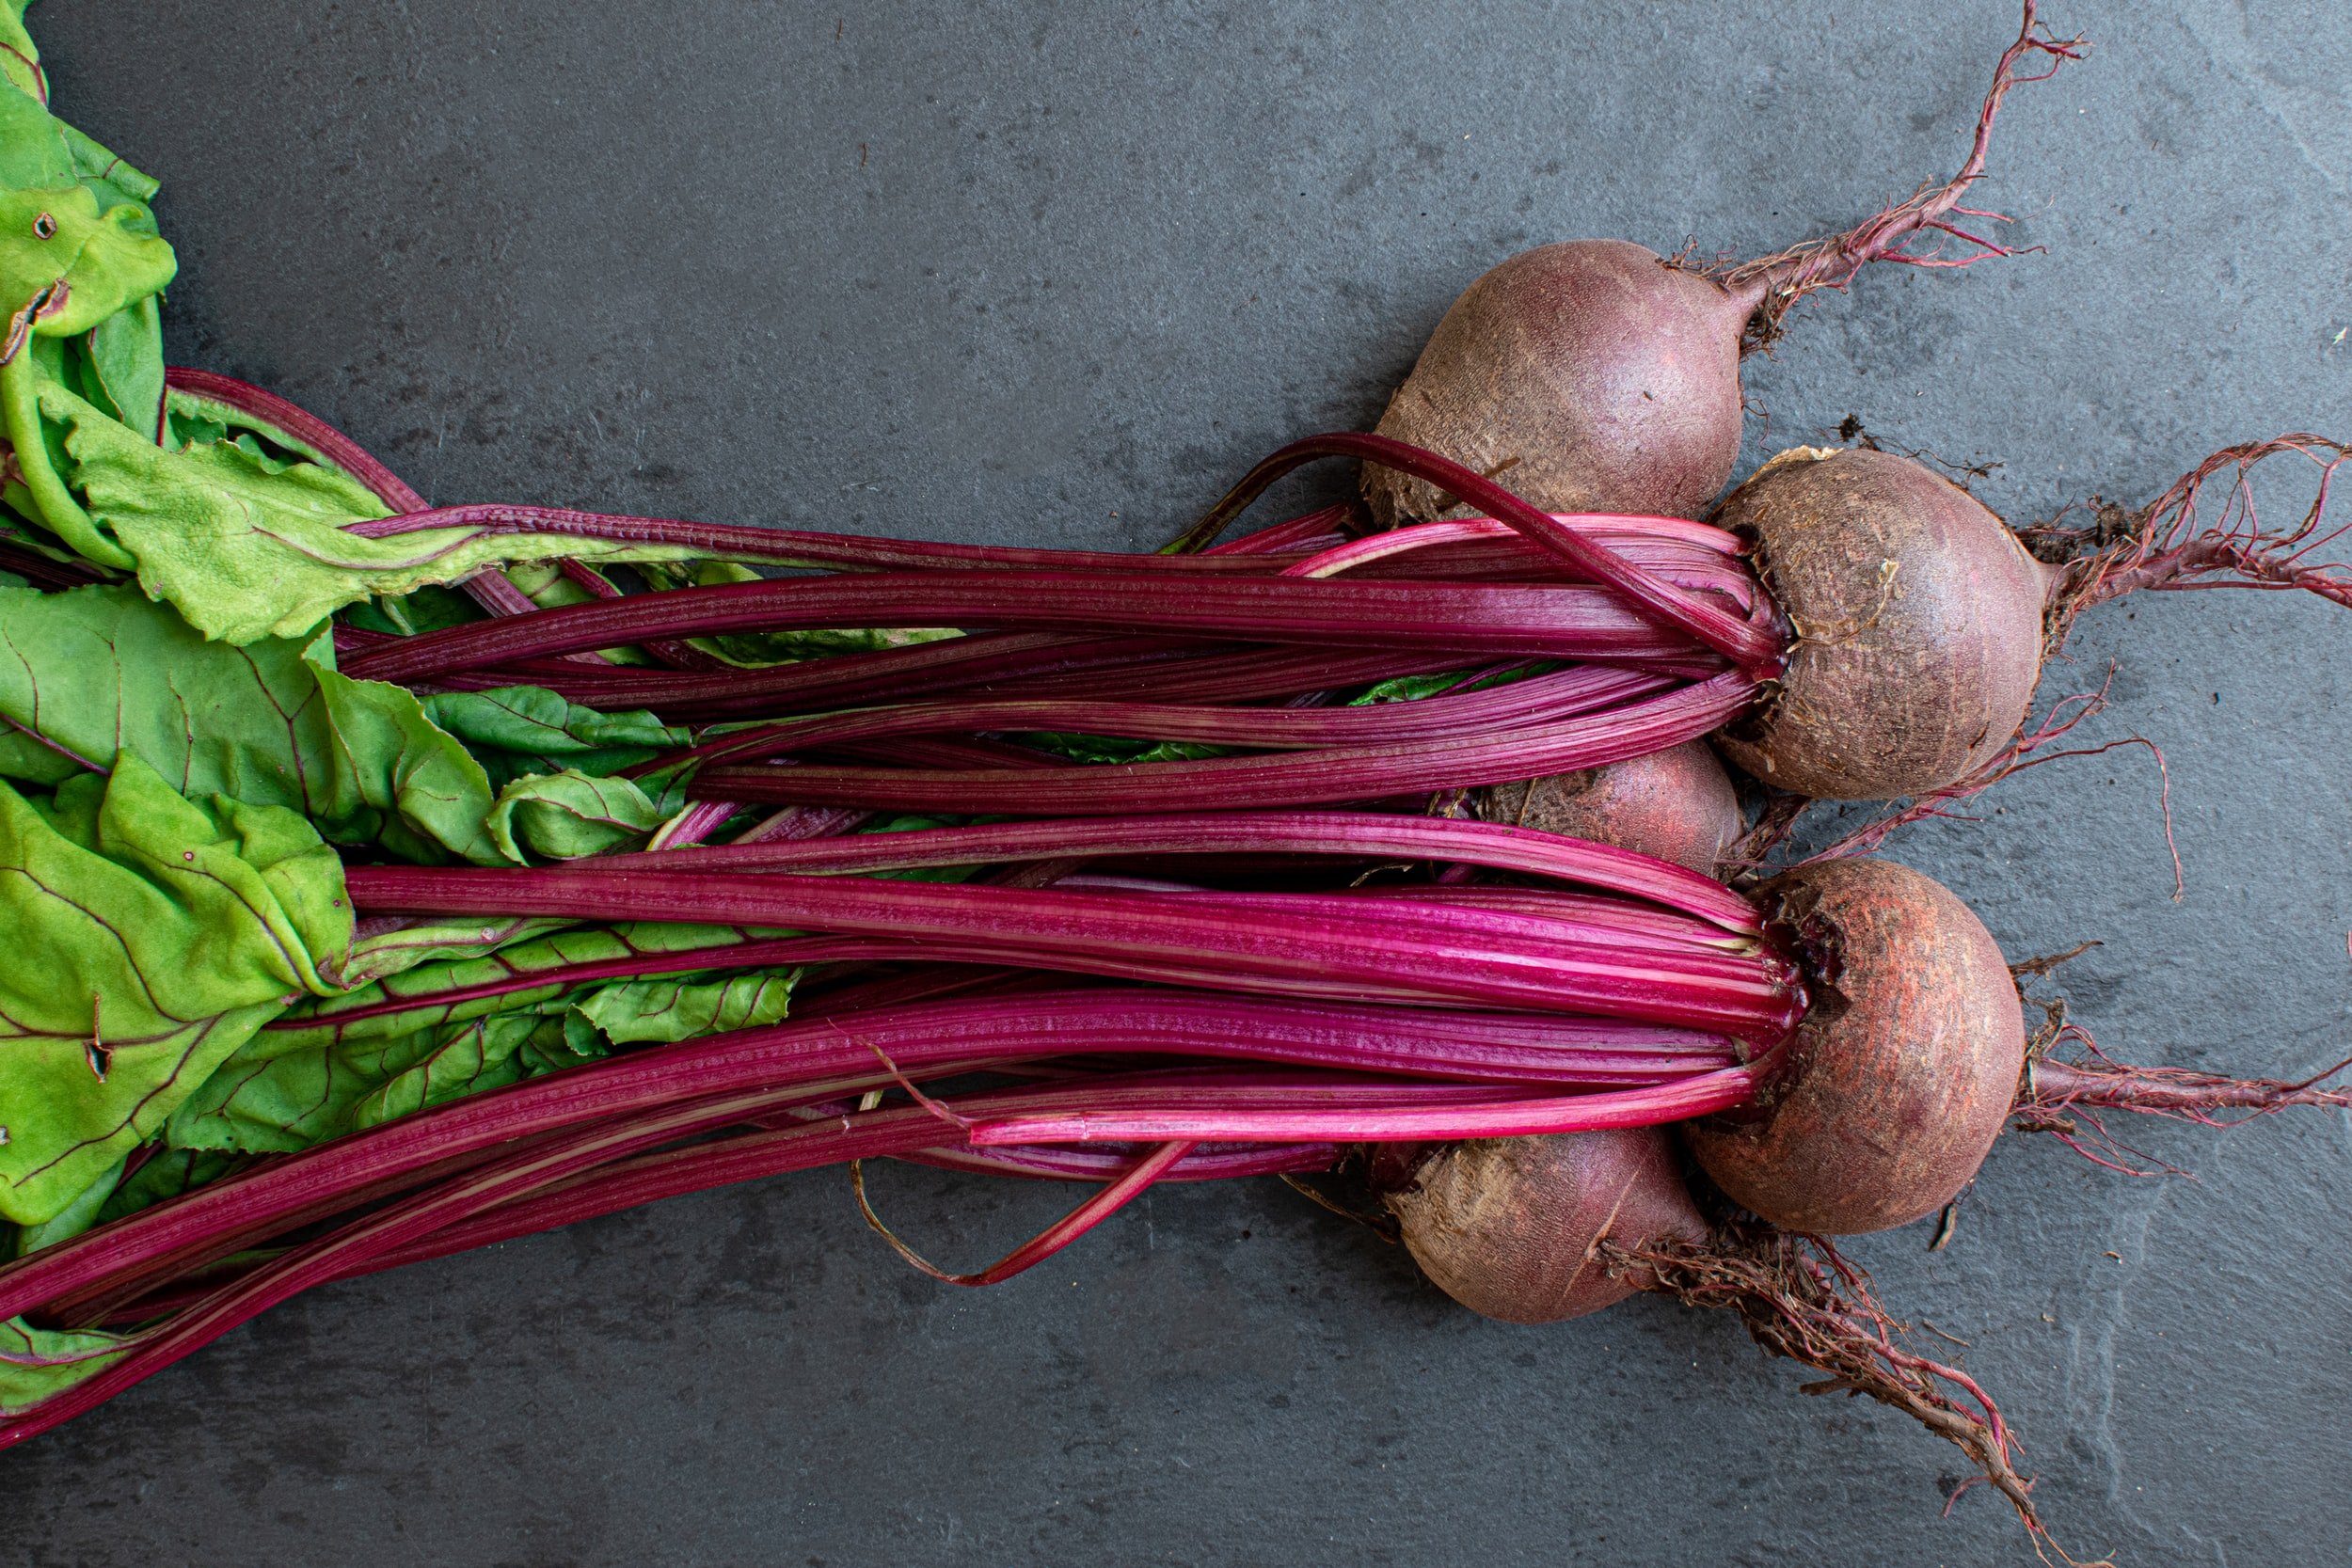
First, choose fresh beets. The quality of your finished canned goods will only be as good as the starting ingredients! Your beets should be a dark, vibrant red with roots that have no bruises, soft spots, or blemishes.
Take the greens off as soon as you can (you can saute these up or eat them fresh!). The beets should be around two inches in diameter, or medium-size, or less. Larger ones can be tough. Here’s a beet harvesting guide to help you figure out when your beets will be ready to harvest.
You can use any kind of vinegar you want, but apple cider vinegar yields the best flavor. Just make sure the vinegar has at least 5% acidity and avoid those that are unfiltered, as they can leave sediment behind in your pickled beets.
In some cases, you may be able to add other ingredients to your pickled beets recipe. Just make sure you adjust the canning recipe accordingly if you add anything besides just more spices and herbs (for instance, if you add onions or other vegetables, even if you add more beets).
Instead of using the mixture of cloves, allspice, and cinnamon that I mentioned above, some people prefer to use pickling spice instead. It's totally up to you, and this won't affect the canning times at all.
Storing and Using Your Beets

When stored correctly, canned pickled beets will last as long as two years.
If you don't want to go through the effort of canning your pickled beets, you can always follow the first few steps of the above recipe and just stash the jars in her refrigerator instead of canning them. They'll last for about three months here.
How Soon Can You Eat Pickled Beets After Canning?
I recommend waiting a minimum of 48 hours to eat your canned pickled beets. However, in some cases and depending on the exact recipe you use, waiting as long as two weeks is even better.
This will let the effects of the vinegar, sugar, and other canning ingredients really permeate into your beets. After two weeks, you'll have the best tasting beets possible!
Do Canned Pickled Beets Go Bad?
This delicious side dish does go bad, but it takes quite some time. If you are storing pickled beets in the refrigerator, they'll last a few months. If you have jars that are canned and unopened, they'll last for years.
How to Serve Pickled Beets
Pickled beets are one of those recipes that are remarkably versatile. They taste great hot, they taste great cold, they taste great no matter how you serve them!
Whip up a batch of pickled beets today - hopefully, this beets recipe has given you some ideas of how to add a fresh new take to your spring or autumn harvest!
Have you ever made your own pickled beets? What’s your favorite recipe? Be sure to let me know in the comments! And be sure to download this garden planning chart so you always have fresh beets on hand.
Want to learn more about farming? Be sure to check out these featured articles!
Subscribe to our email newsletter for regular tips and tricks on homesteading – wherever you are. You can also follow us on Instagram (@jrpiercefamilyfarm) and Pinterest (J&R Pierce Family Farm) for frequent updates. Happy homesteading!